Github 注册应用 如果想要使用Github为应用授权的话,要先去自己的账户上注册一个应用,点击 注册。
名称随便输入,写上自己网站的主页,最后一个是授权成功之后回调的页面。
创建成功之后会看到这个
跳转到Github授权页面 点一下Generate a new client secret会生成一个秘钥,只会出现一次,要保存好它,不要泄露出去。后面会用到的。
下面开始写代码了,只是做一个简单的示例,没有特别复杂的。就是文档顶部的四种类型。图片是在iconfont 找到,这个不做过多描述了。
1
2
3
4
function github ( location.href = `https://github.com/login/oauth/authorize?client_id=39b050937104c9618fee&redirect_uri=http://localhost/me.html` ; }
当点击Github图标之后会调用这个方法,跳转到授权页面,上面那个用到两个参数
client_idclient_id,千万不要把secret放在前端,不能暴露出来的
redirect_uri
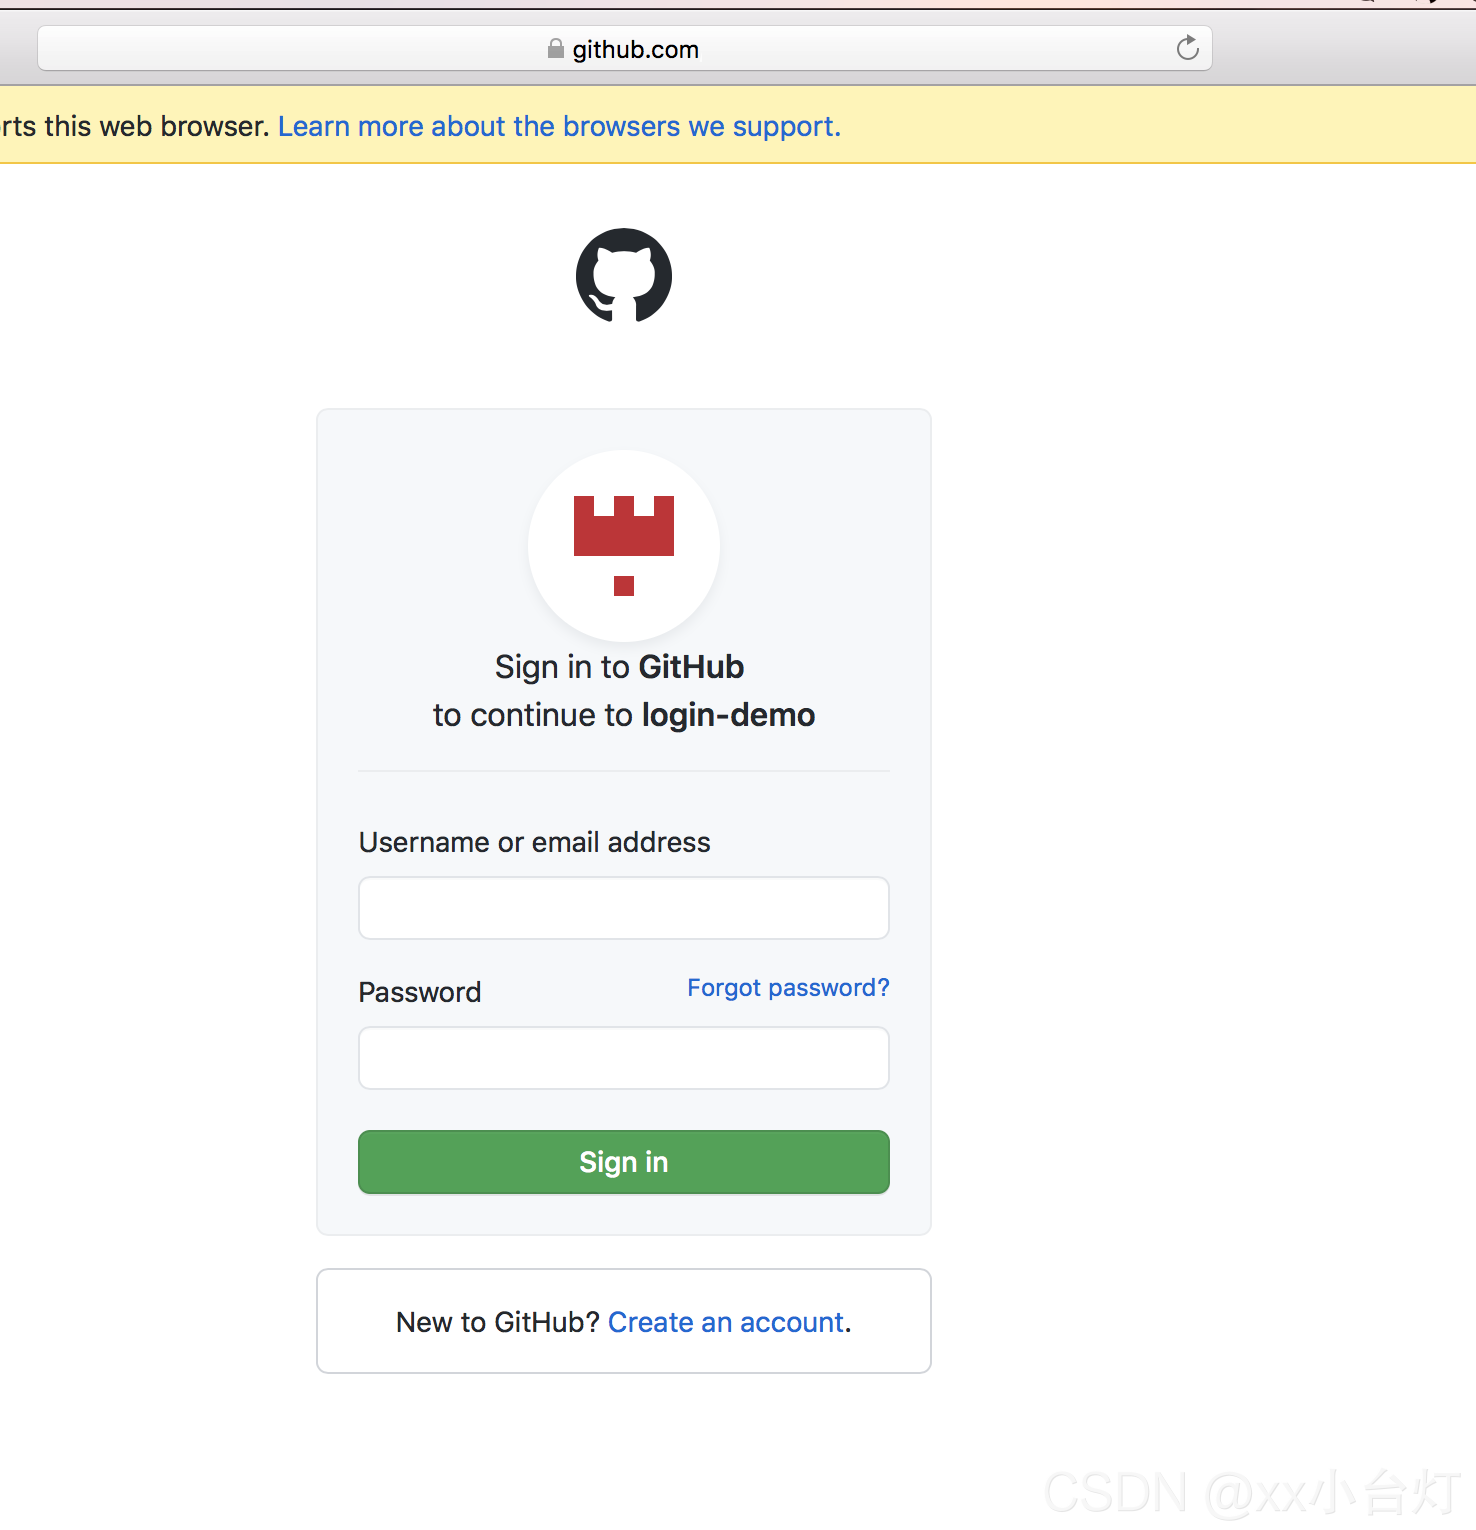
调用方法之后会跳转到这个页面,输入账号密码登录就可以了。http://localhost/me.html?code=ffwgregregregre,记住这个code,后面会用到的。
获取到授权码 在授权页面授权成功之后,会得到一个授权码,就是上面的code,拿到这个去后台服务获取用户信息。
要获取到用户信息首页要使用授权码得到一个令牌,使用这个令牌向Github请求用户信息。
后台实现 1 2 3 4 5 6 7 8 9 10 11 12 13 14 15 16 17 18 19 20 21 22 23 24 25 26 27 28 29 @GetMapping("github/{code}") public ResponseEntity getUserInfo (@PathVariable String code) { String clientId = "" ; String secret = "" ; Proxy proxy = new Proxy (Proxy.Type.SOCKS, new InetSocketAddress ("127.0.0.1" , 1090 )); String body = HttpRequest.post( String.format("https://github.com/login/oauth/access_token?client_id=%s&client_secret=%s&code=%s" , clientId, secret, code) ).header("accept" , "application/json" ). setProxy(proxy). execute(). body(); GithubTokenResponse githubTokenResponse = JSON.parseObject(body, GithubTokenResponse.class); String userInfo = HttpRequest.get("https://api.github.com/user" ). setProxy(proxy). header("accept" , "application/json" ). header("Authorization" , "token " + githubTokenResponse.getAccess_token()) .execute().body(); return ResponseEntity.ok(userInfo); }
GithubTokenResponse
1
2
3
4
5
6
7
8
public class GithubTokenResponse { private String access_token; private String scope; private String token_type; }
前端页面 1 2 3 4 <body > <img id ="avatar" style ="display: none" /> <h1 id ="name" > </h1 > </body >
1 2 3 4 5 6 7 8 let code = getQueryVariable ("code" ); ajaxGet ("github/" + code, function (data ) { let user = data; avatar.style .display = "block" ; avatar.src = user.avatar_url ; document .getElementById ("name" ).innerHTML = user.name ; });
Gitee Gitee和Github基本是一样的,也是要先注册一个应用,地址在这里 ,不过多描述了,直接上代码。
后端实现 1 2 3 4 5 6 7 8 9 10 11 12 13 @GetMapping("gitee/{code}") public ResponseEntity getGiteeUser (@PathVariable String code) { String clientId = "" ; String secret = "" ; String redirect_uri = "http://localhost/gitee.html" ; String url = String.format(" https://gitee.com/oauth/token?grant_type=authorization_code&code=%s&client_id=%s&redirect_uri=%s&client_secret=%s" , code, clientId, redirect_uri, secret); String body = HttpRequest.post(url).execute().body(); GithubTokenResponse githubTokenResponse = JSON.parseObject(body, GithubTokenResponse.class); String userInfo = HttpRequest.get("https://gitee.com/api/v5/user?access_token=" + githubTokenResponse.getAccess_token()).execute().body(); return ResponseEntity.ok(userInfo); }
前端实现 与Github一致
Email Email实现的思路大致就是,输入邮箱之后,后台会向邮箱发送一个链接,通过这个链接激活账户。
发送邮件 1 2 3 4 5 <body > <input id ="email" type ="text" placeholder ="邮箱地址" /> <button onclick ="register()" > 注册</button > </body >
1 2 3 4 5 6 7 8 9 10 <script> function register ( let value = email.value ; if (value) { ajaxPost ("email/create" , { email : value }, function (data ) { console .log (data); }); } } </script>
1 2 3 4 5 6 7 8 9 10 11 12 13 14 15 @PostMapping("/email/create") public ResponseEntity createEmailUrl (@RequestBody Map<String, String> map) throws UnsupportedEncodingException, MessagingException { String token = JwtToken.makeToken(map.get("email" ), "abc" , 60 * 30 ); SendEmail sendEmail = new SendEmail ("123@qq.com" , "password" , "smtp.qq.com" ); sendEmail.setSubject("邮箱注册" ); String emailContent = String.format("<a href='%sauthemail.html?code=%s'>点击注册</a>,30分钟内有效" , pageUrl, token); sendEmail.addContent(emailContent); sendEmail.addReceive(new ReceiveAccount (map.get("email" ), "xx996用户" , Message.RecipientType.TO)); sendEmail.setPersonal("xx996管理员" ); sendEmail.saveChange(); sendEmail.sendEmail(); return ResponseEntity.ok(token); }
验证邮件 后端 1 2 3 4 5 6 7 8 9 10 11 12 13 14 15 @GetMapping("/email/{code}") public ResponseEntity emailInfo (@PathVariable String code) { Map<String, String> map = new HashMap <>(); if (!JwtToken.verifyToken(code, "abc" )) { ResponseEntity.ok().body((map.put("mess" , "身份认证失败" ))); } String emial = JwtToken.getClaims(code, "abc" ).get().get("uid" ).asString(); map.put("mess" , emial); return ResponseEntity.ok().body(map); }
前端 1 2 3 4 5 <body > <h1 > <span id ="h1" > </span > </h1 > </body >
1 2 3 4 let code = getQueryVariable ("code" ); ajaxGet ("email/" + code, function (data ) { $("#h1" ).text (data.mess ); });
微信登录 这里微信登录是使用小程序实现的,个人是无法申请微信登录的。
微信扫一扫登录(使用小程序实现)
最后 项目中使用到的工具
1 2 3 4 5 6 7 8 9 10 11 12 13 14 15 16 17 18 19 20 <dependency > <groupId > com.alibaba</groupId > <artifactId > fastjson</artifactId > <version > 1.2.78</version > </dependency > <dependency > <groupId > cn.hutool</groupId > <artifactId > hutool-http</artifactId > <version > 5.7.9</version > </dependency > <dependency > <groupId > cn.xx996</groupId > <artifactId > springboot-tool</artifactId > <version > 1.0.0</version > </dependency > <dependency > <groupId > cn.xx996</groupId > <artifactId > email</artifactId > <version > 1.0.0</version > </dependency >

![[外链图片转存失败,源站可能有防盗链机制,建议将图片保存下来直接上传(img-xl0CN1FD-1629897178733)(https://imgblog.csdnimg.cn/99253549a82d43258425957b20d75b21.png?x-oss-process=image/watermark,type_ZmFuZ3poZW5naGVpdGk,shadow_10,text_Q1NETiBAeHjlsI_lj7Dnga8=,size_54,color_FFFFFF,t_70,g_se,x_16)]](https://img-blog.csdnimg.cn/37197da007f540dfb6a3bf153261ec8e.png?x-oss-process=image/watermark,type_ZmFuZ3poZW5naGVpdGk,shadow_10,text_Q1NETiBAeHjlsI_lj7Dnga8=,size_49,color_FFFFFF,t_70,g_se,x_16)